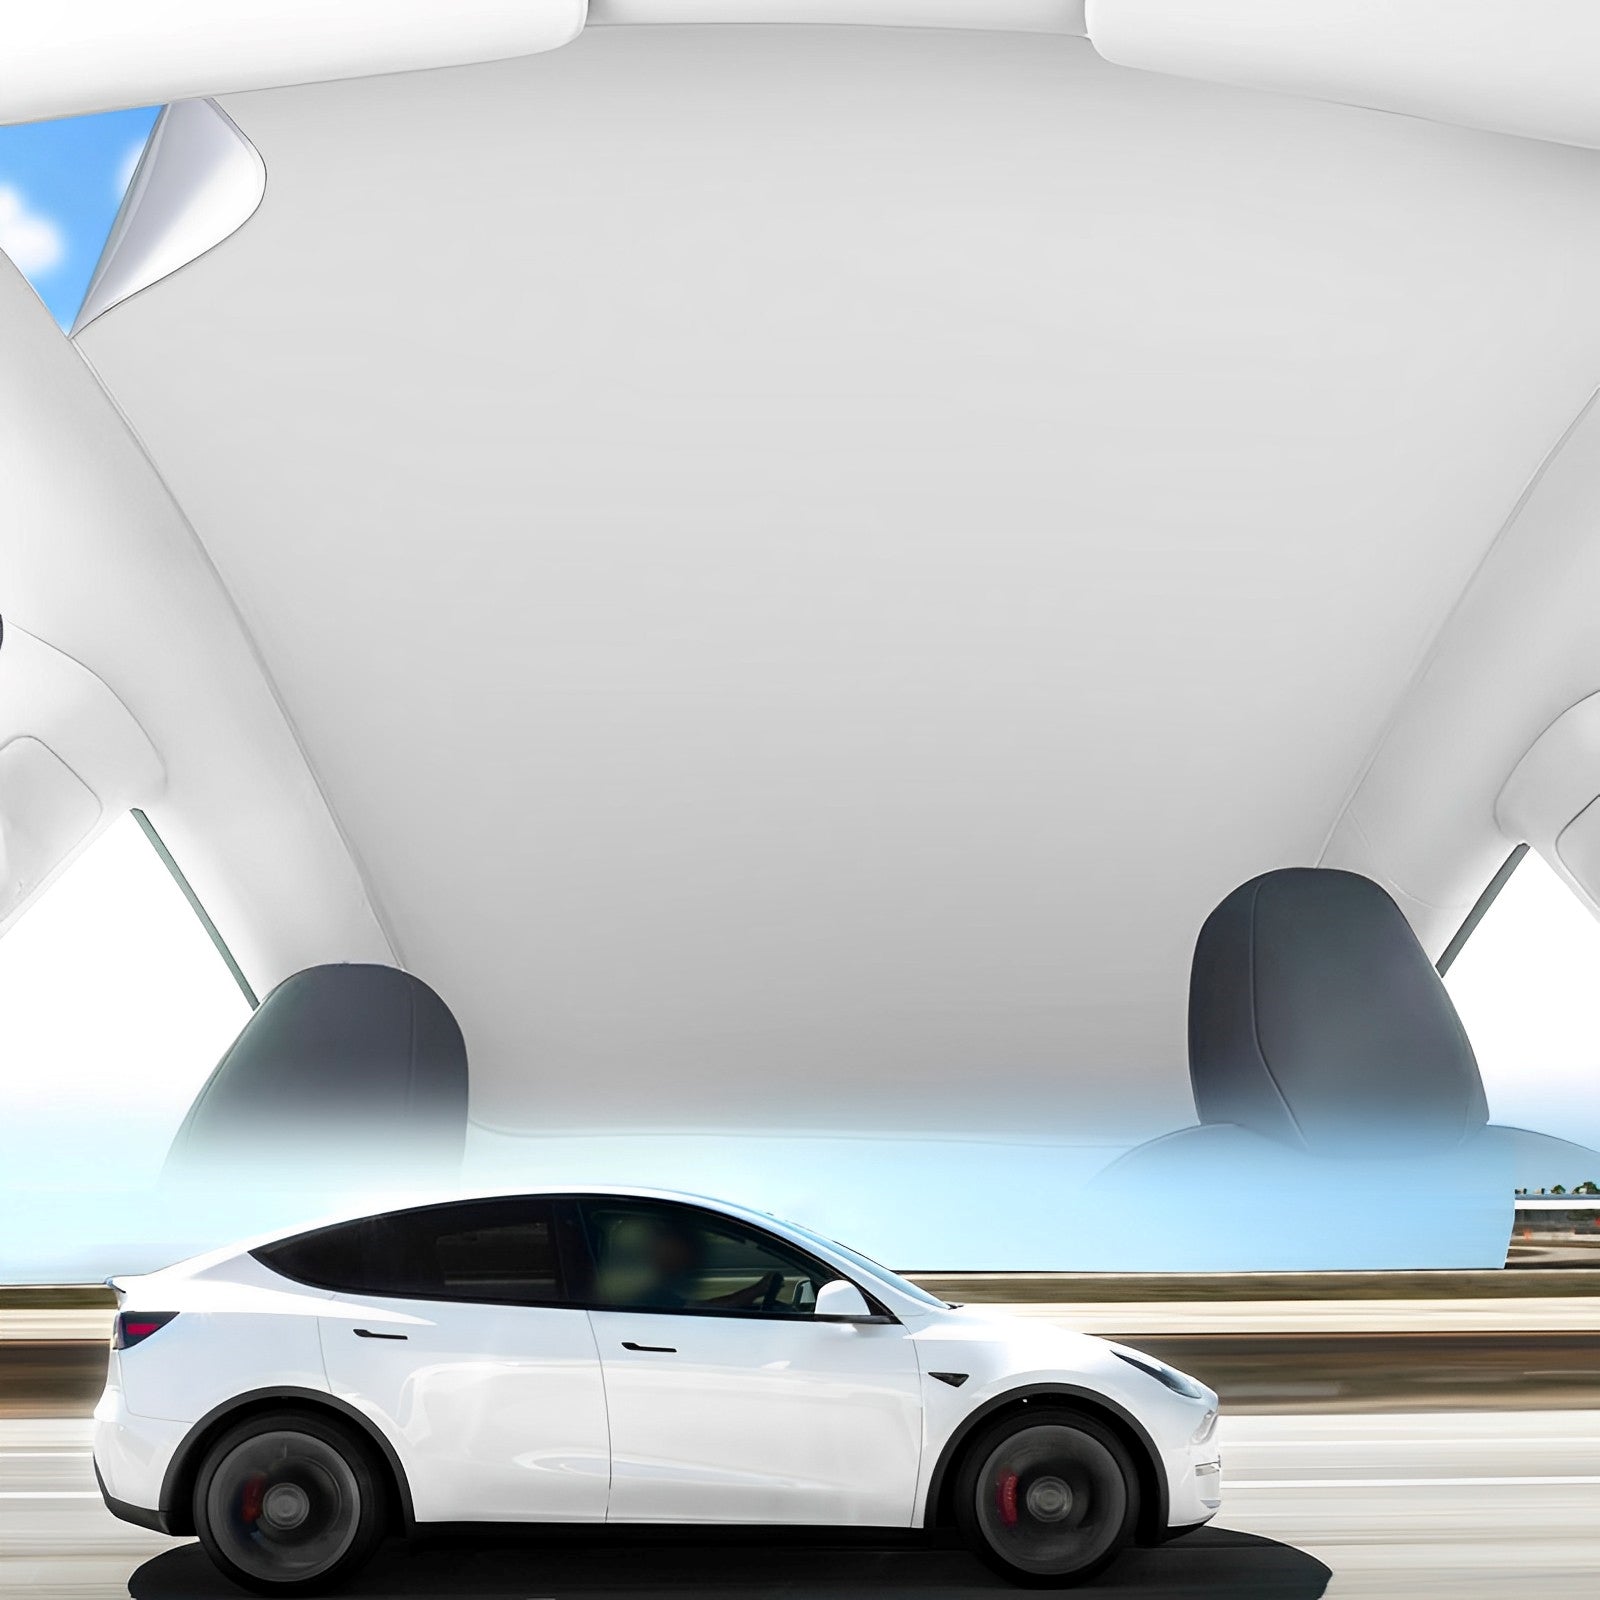
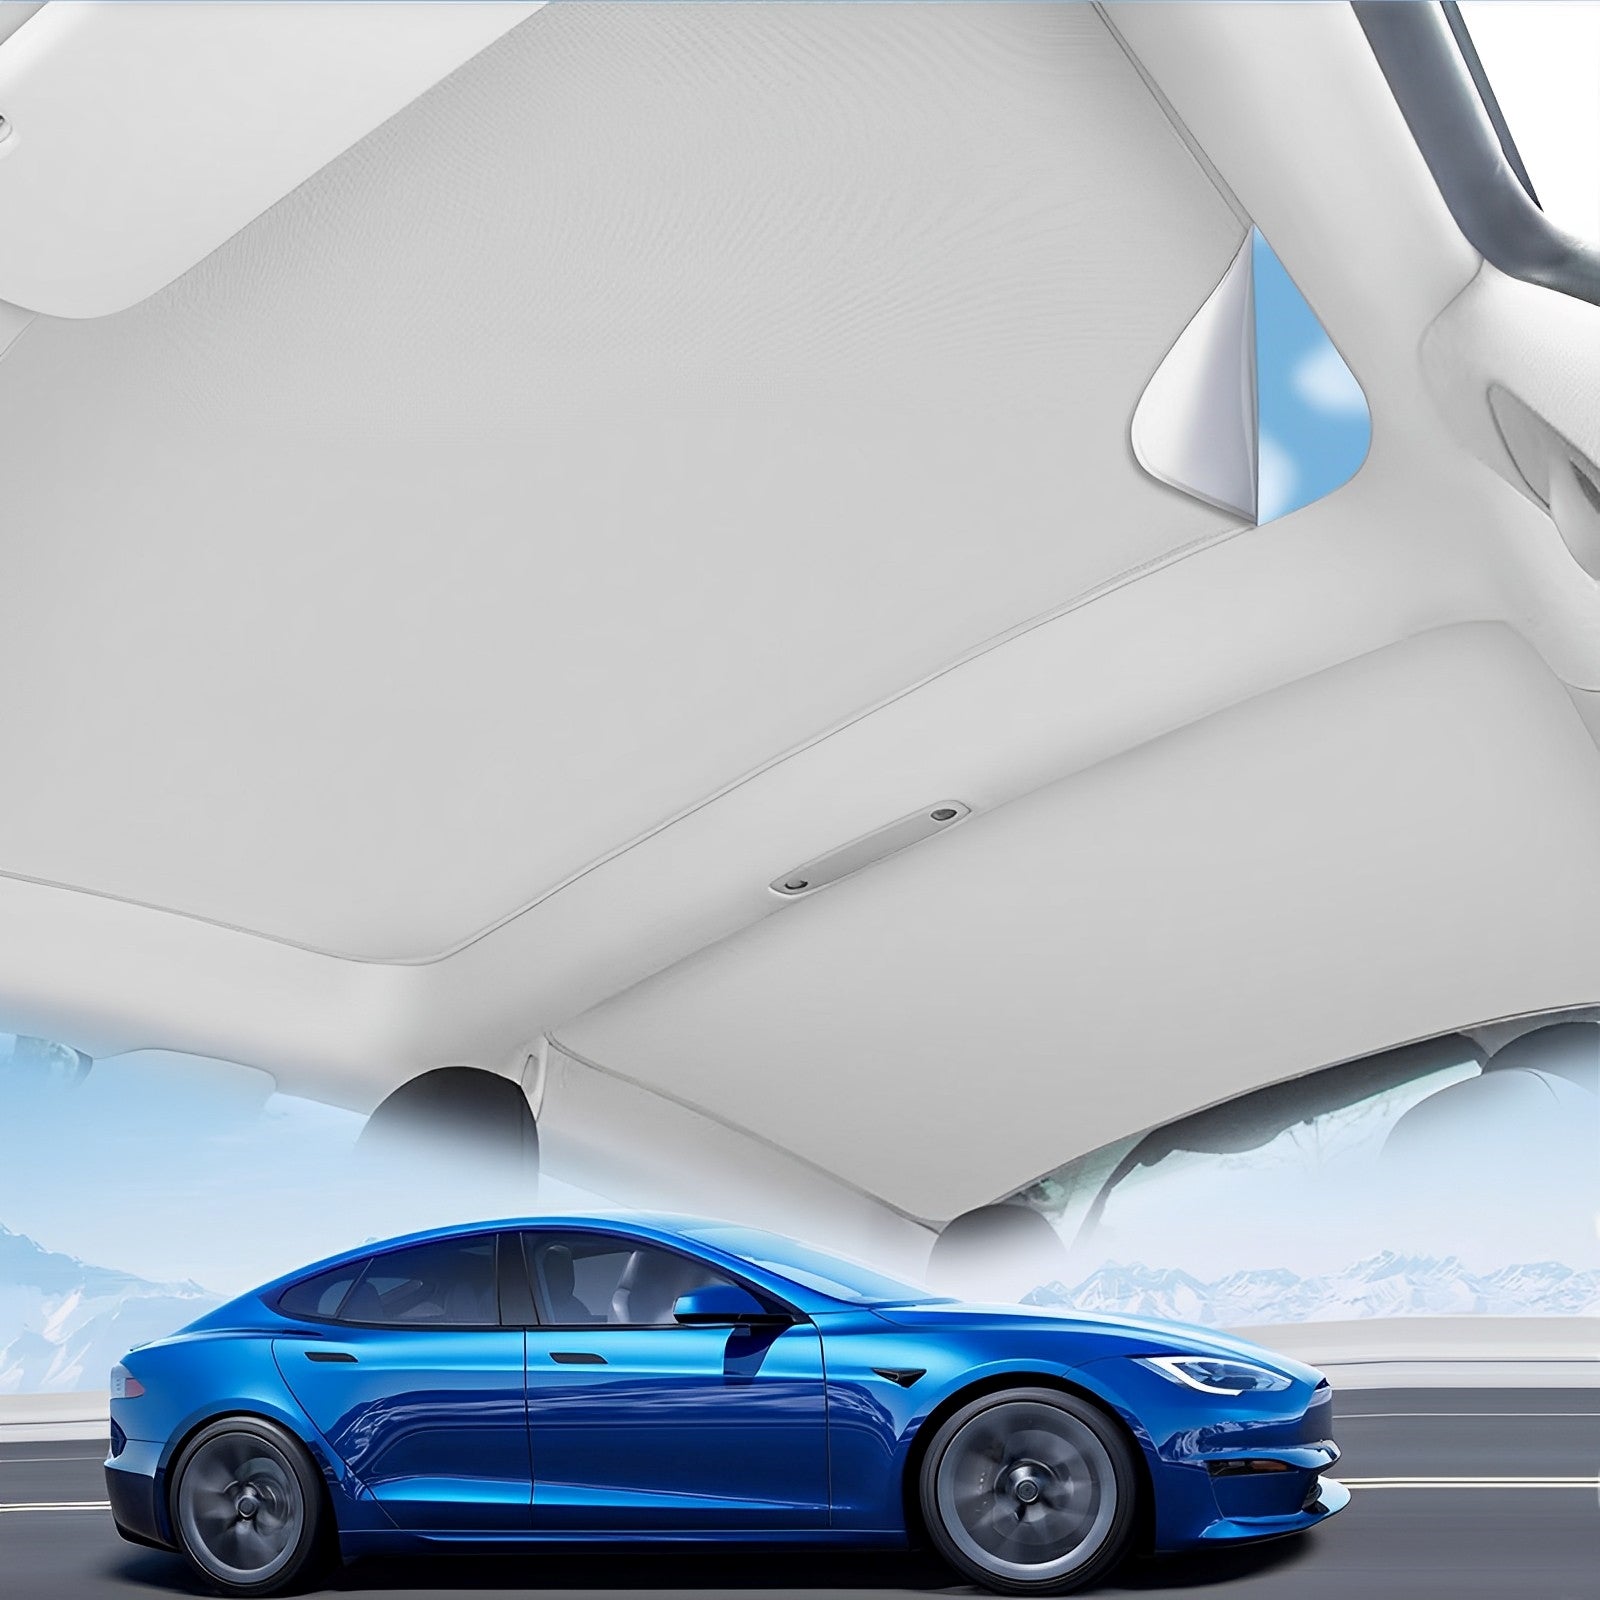
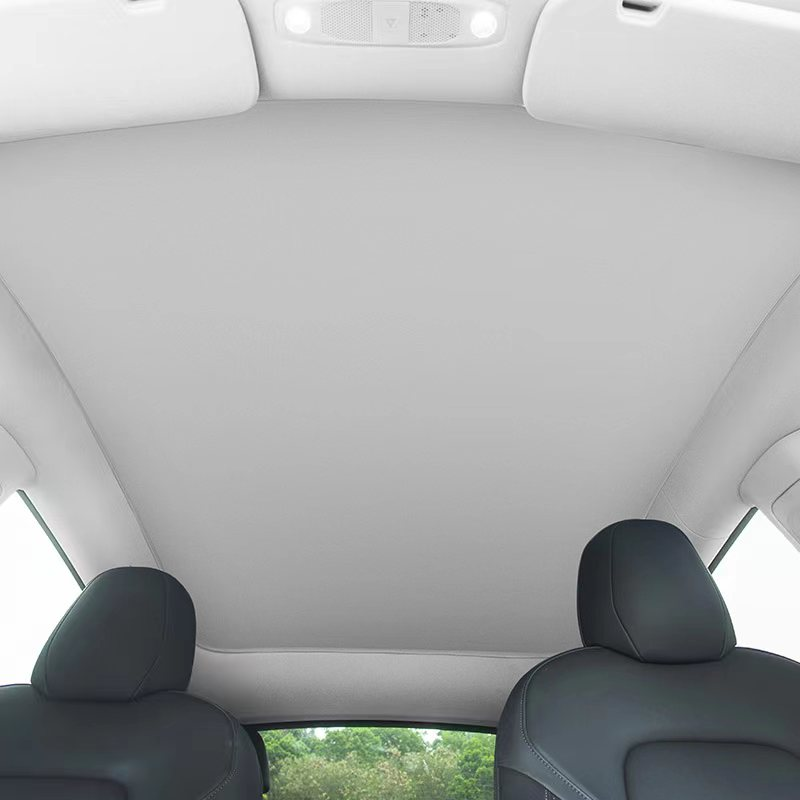
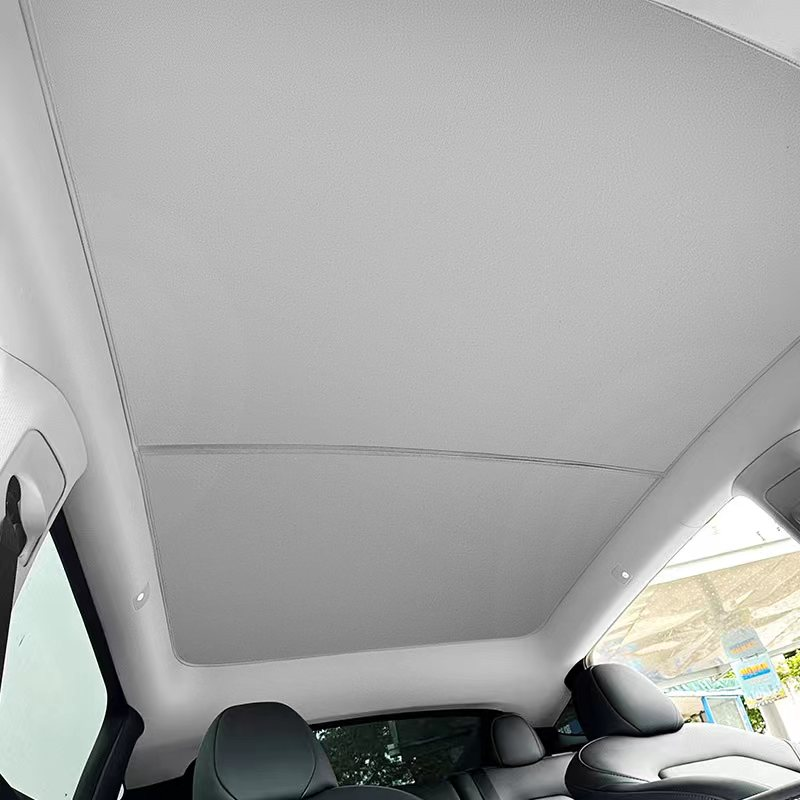

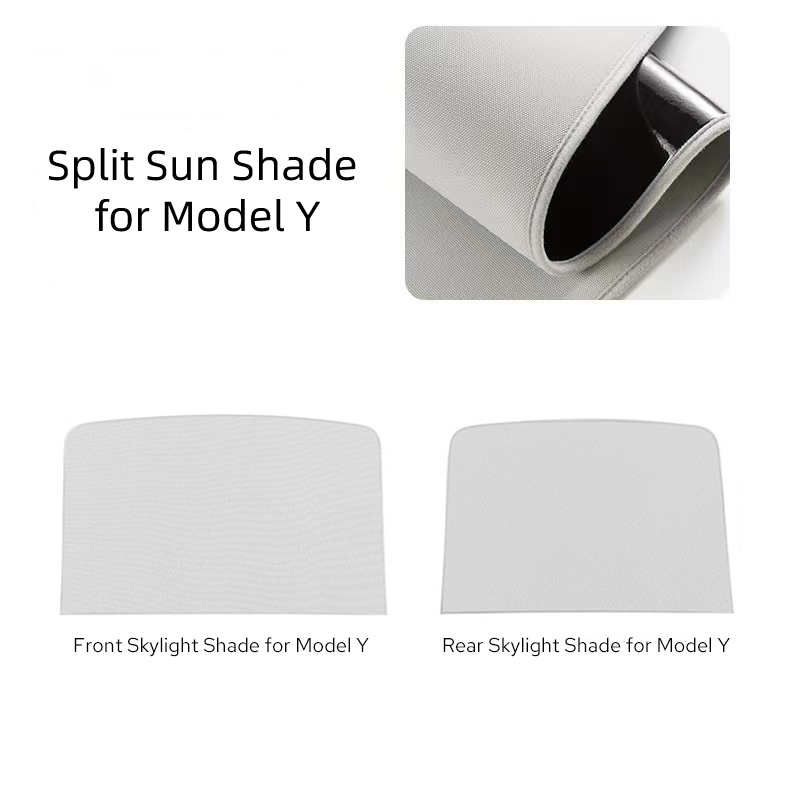
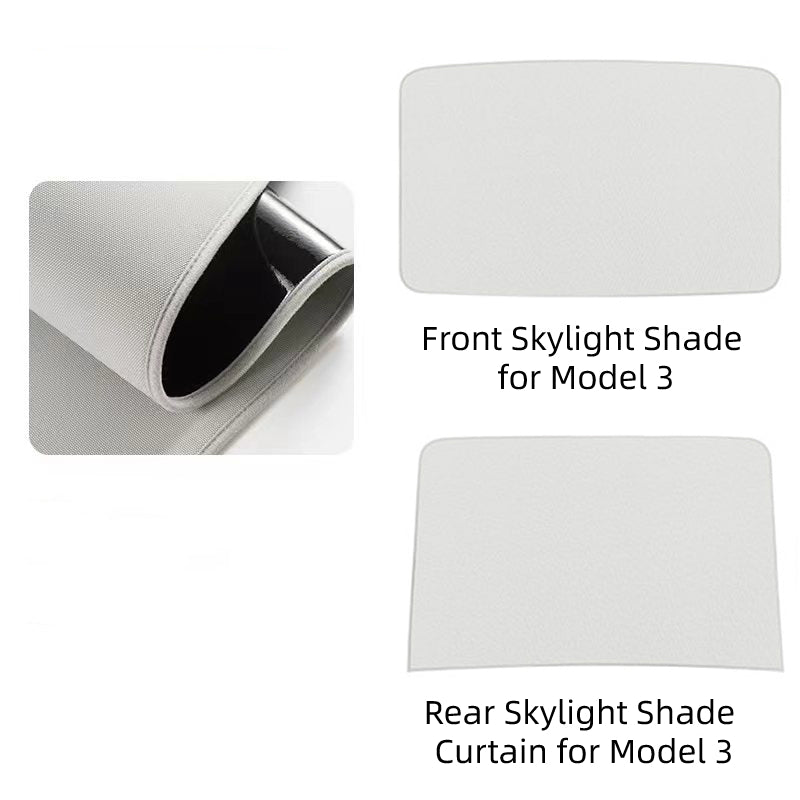

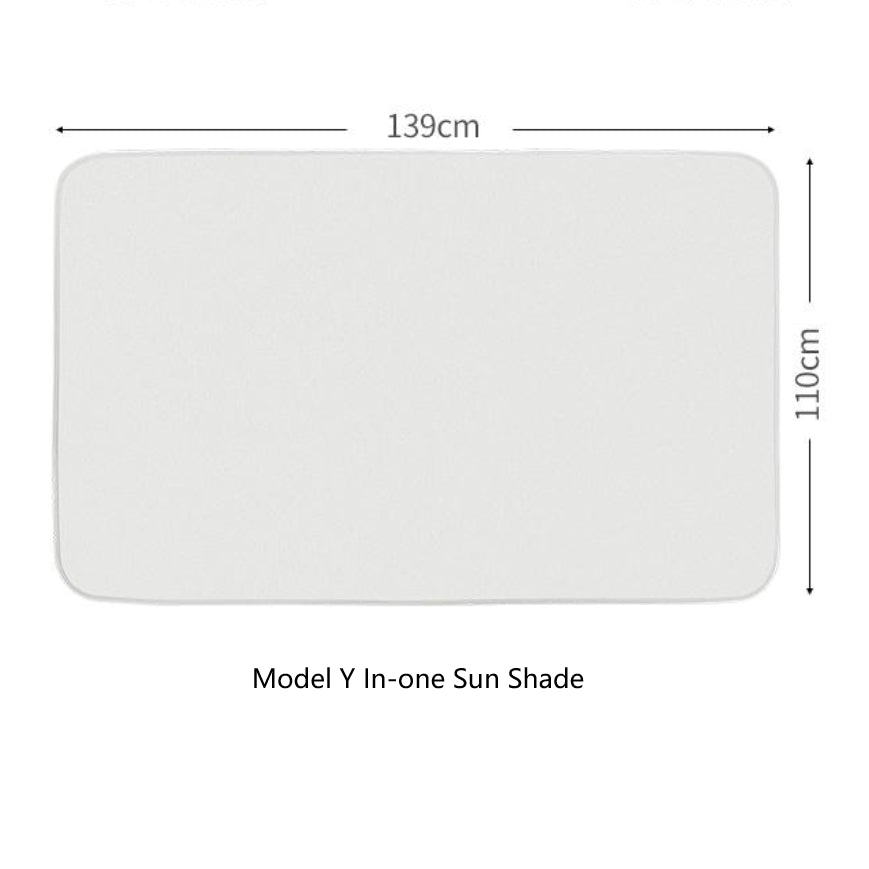

Electrostatic Adsorption Sunroof Sunshade – For Tesla Model 3/Y
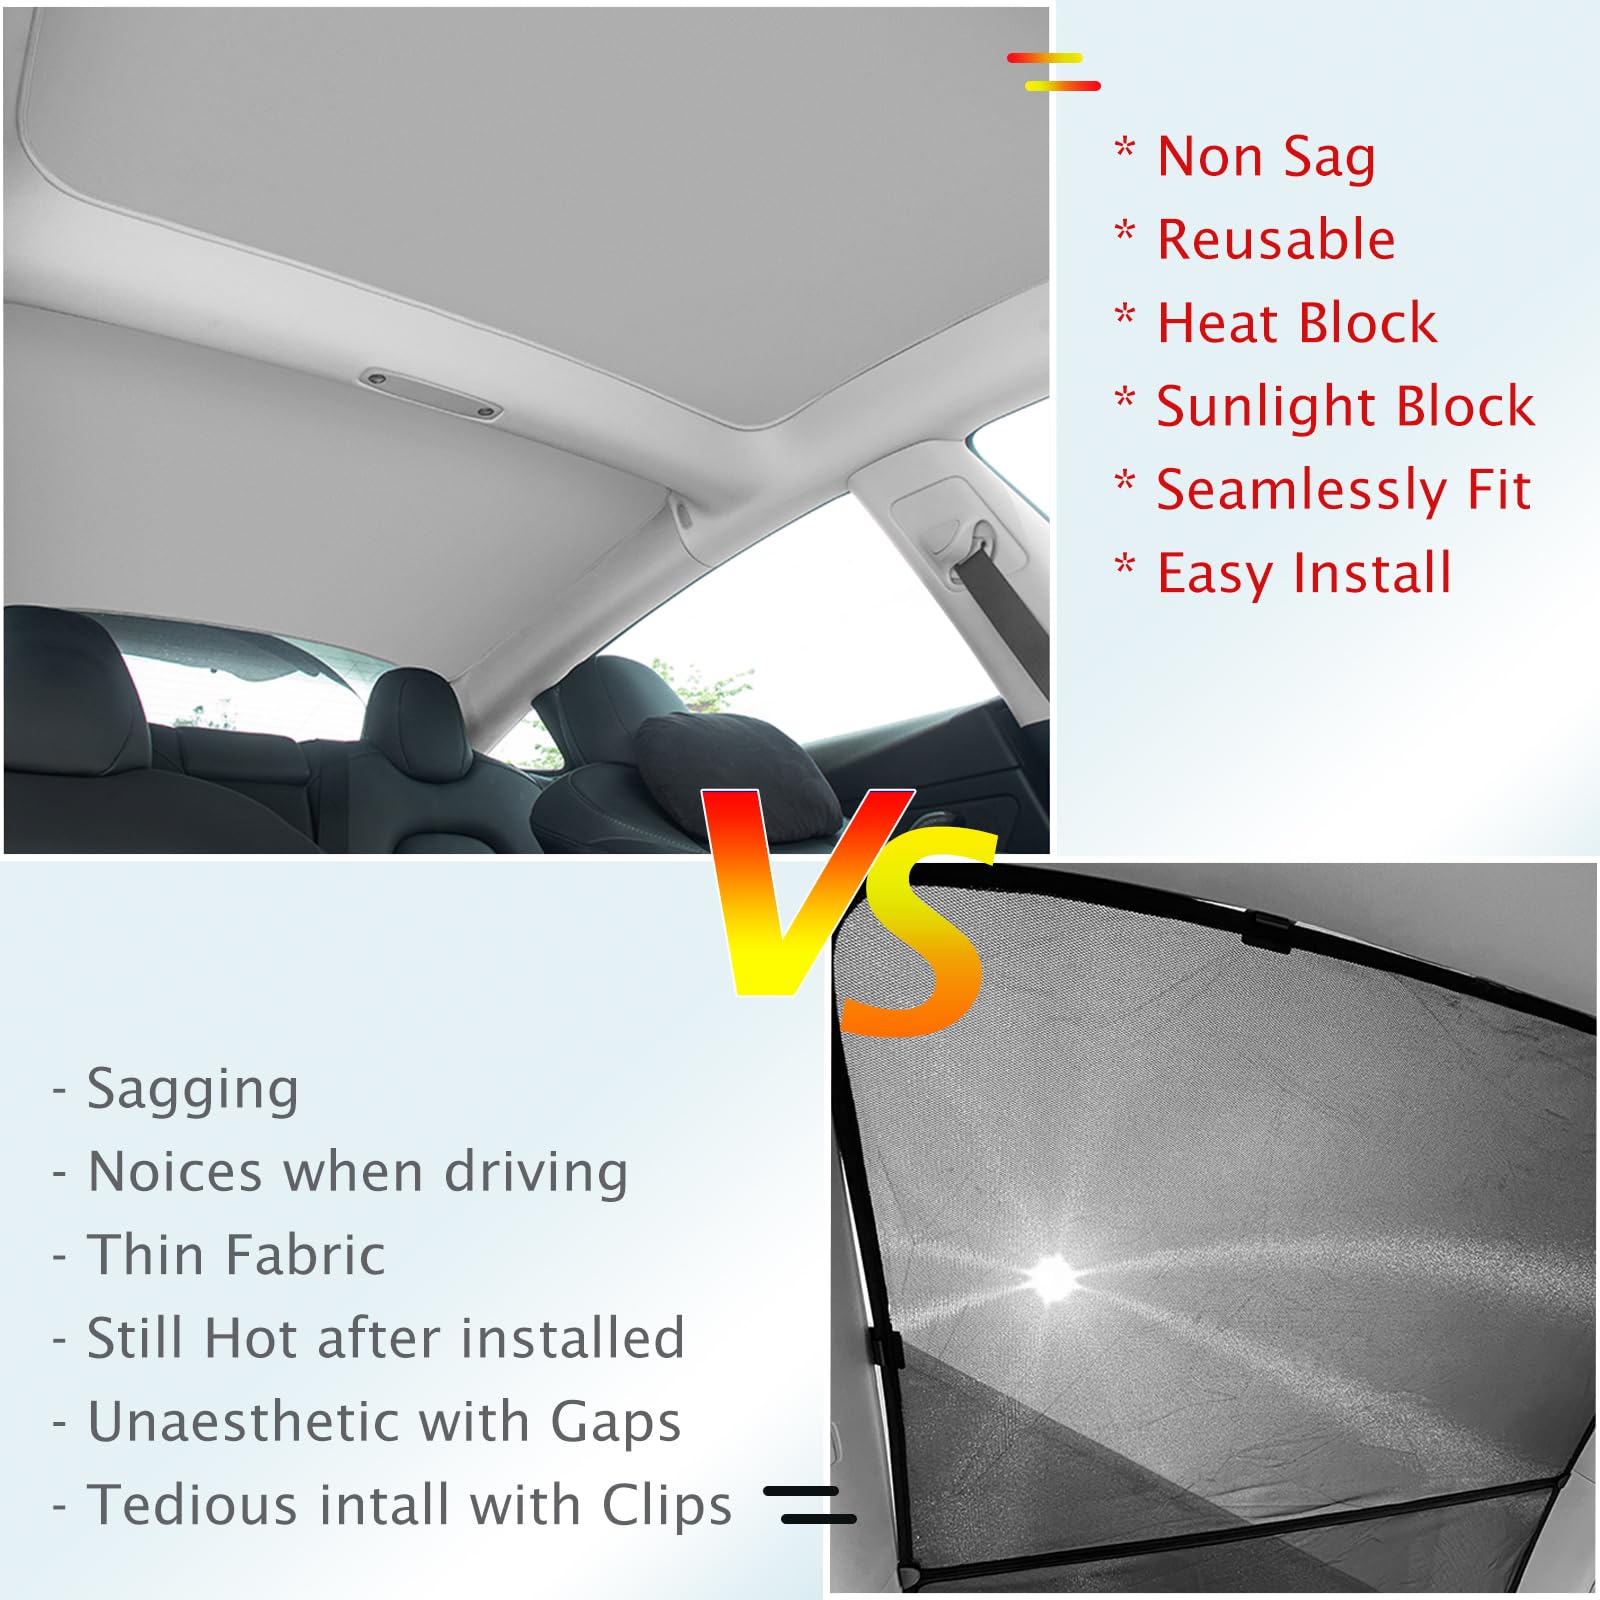
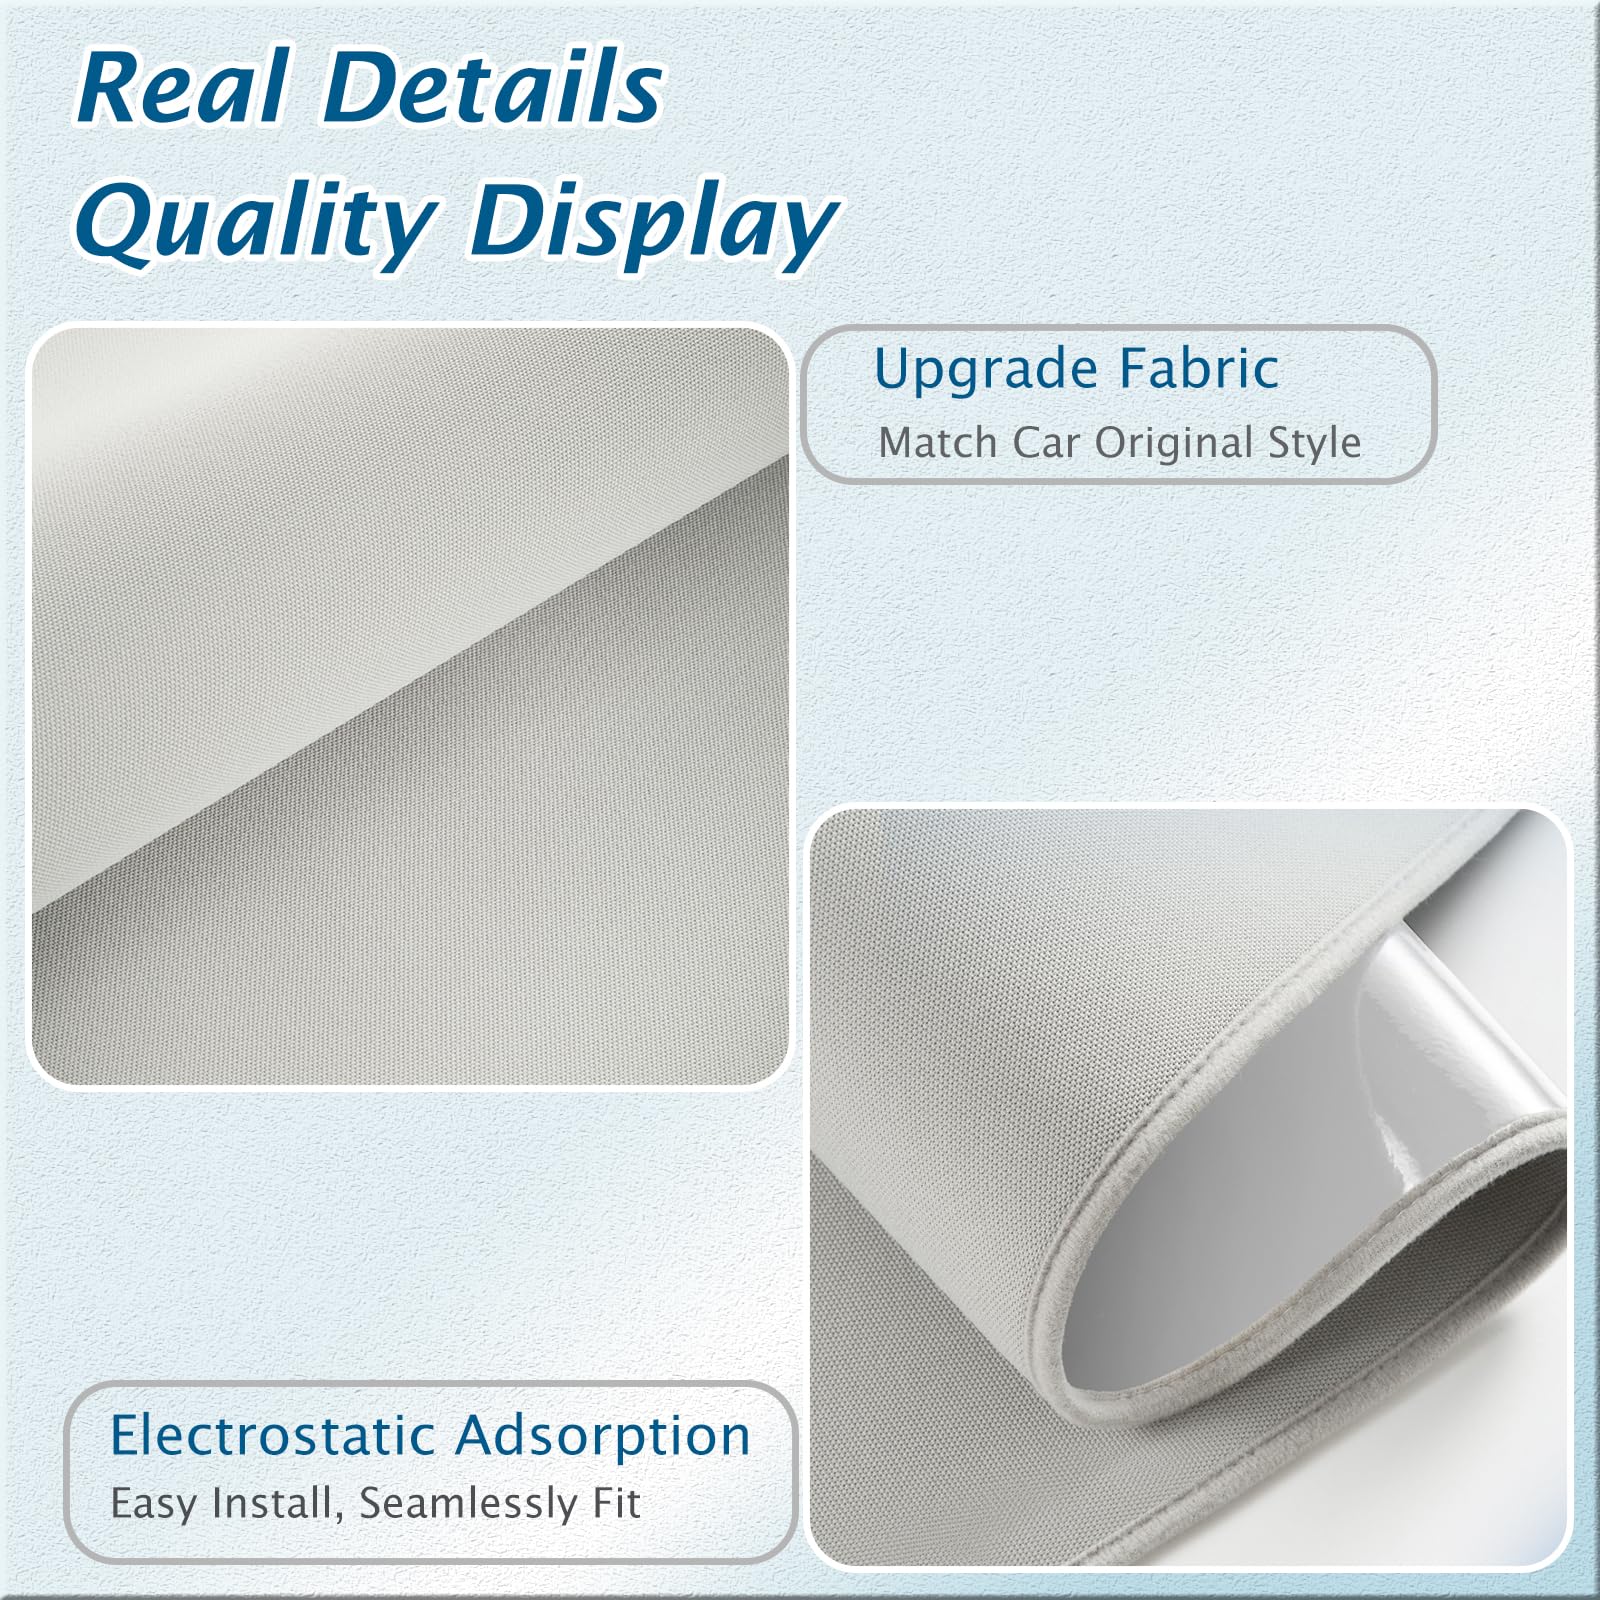
With its electrostatic adsorption feature, the Tesla Electrostatic Adsorption Sunroof Blind is incredibly easy to install - simply attach it to your sunroof and you're good to go. It's designed to fit perfectly with your Tesla, so you won't have to worry about any unsightly gaps or awkward fitting.
Features
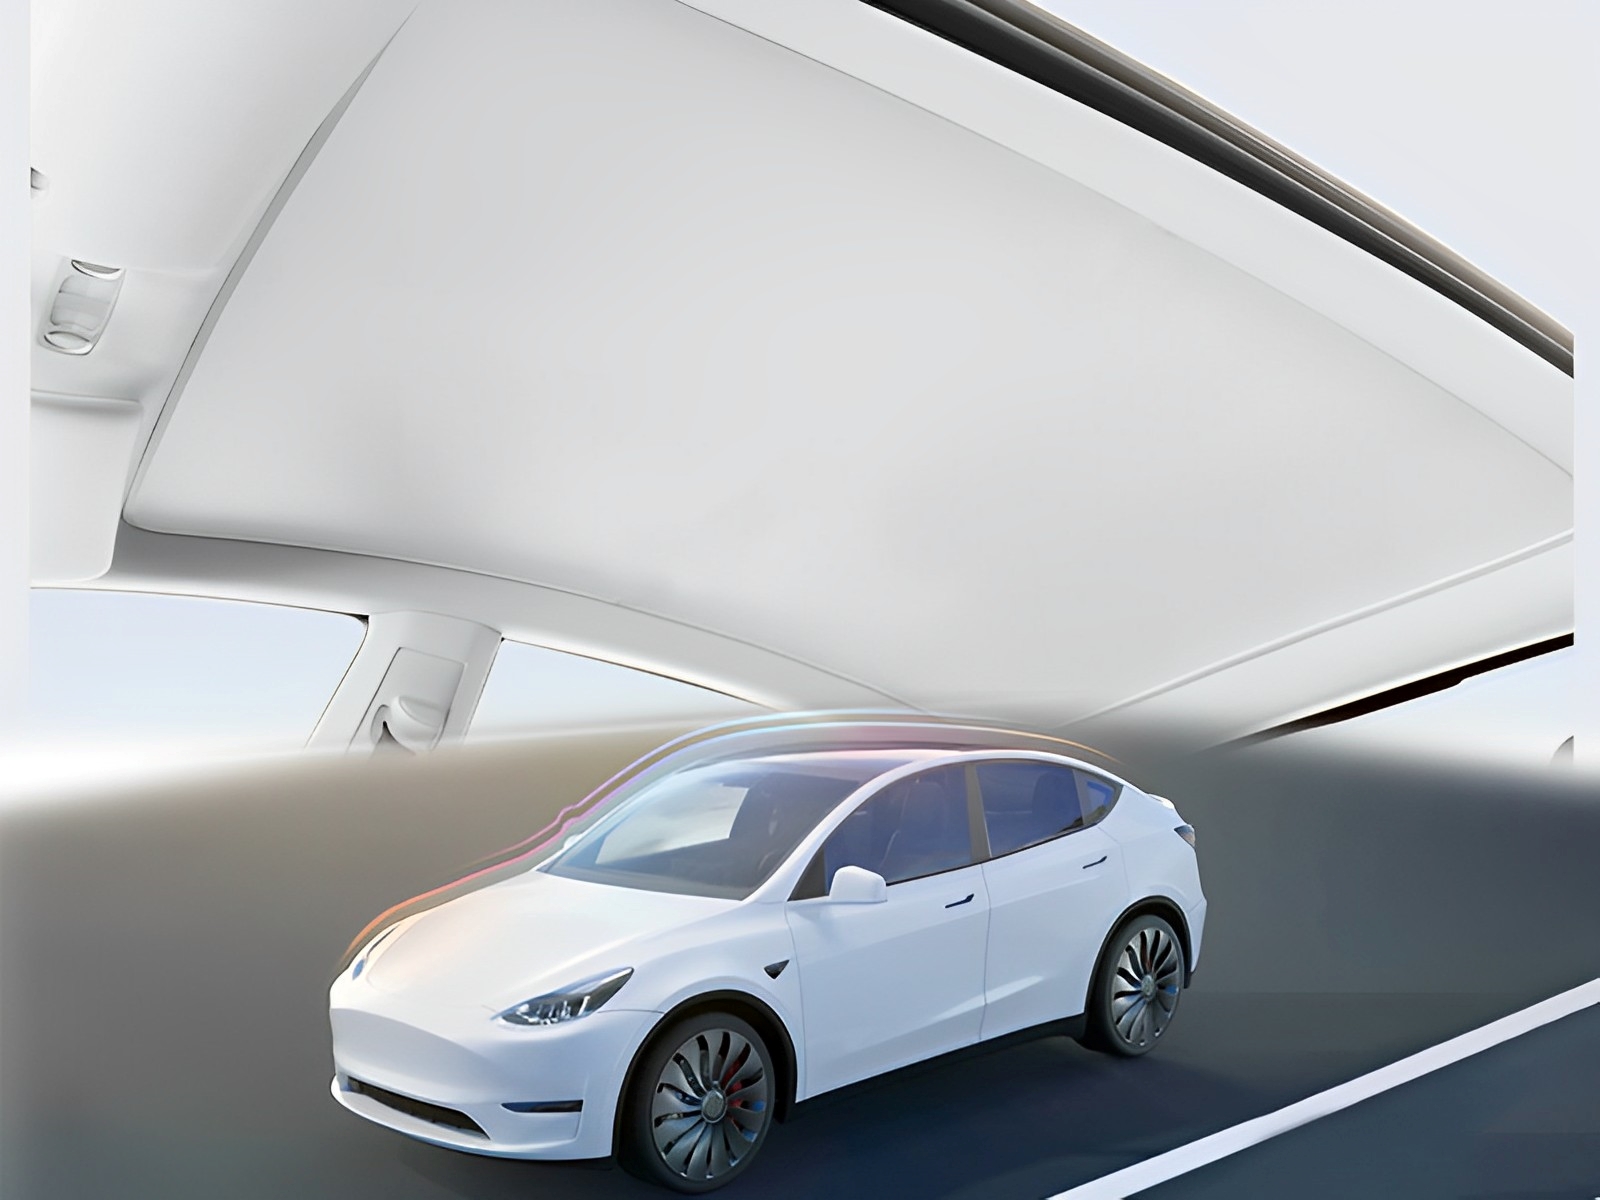
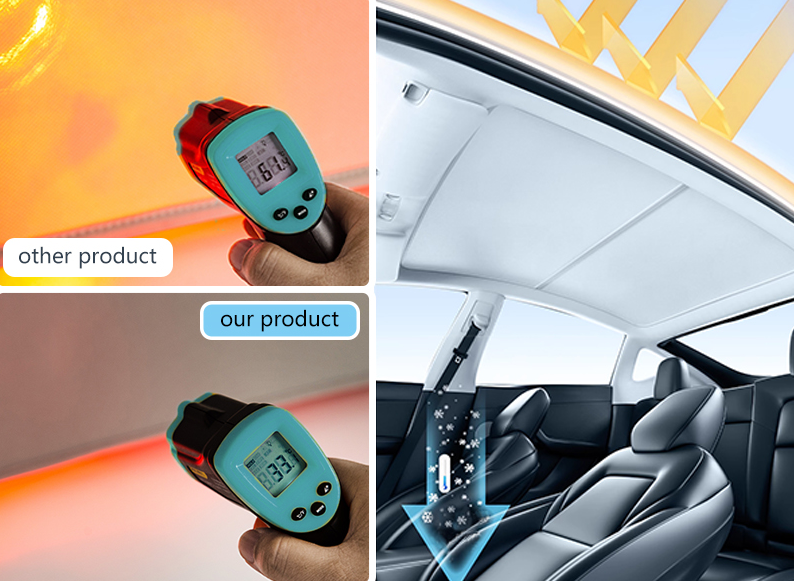
- Effectively Sun Blocks- Keep your Tesla cool and private with the Electrostatic Adsorption Sunroof Sunshade
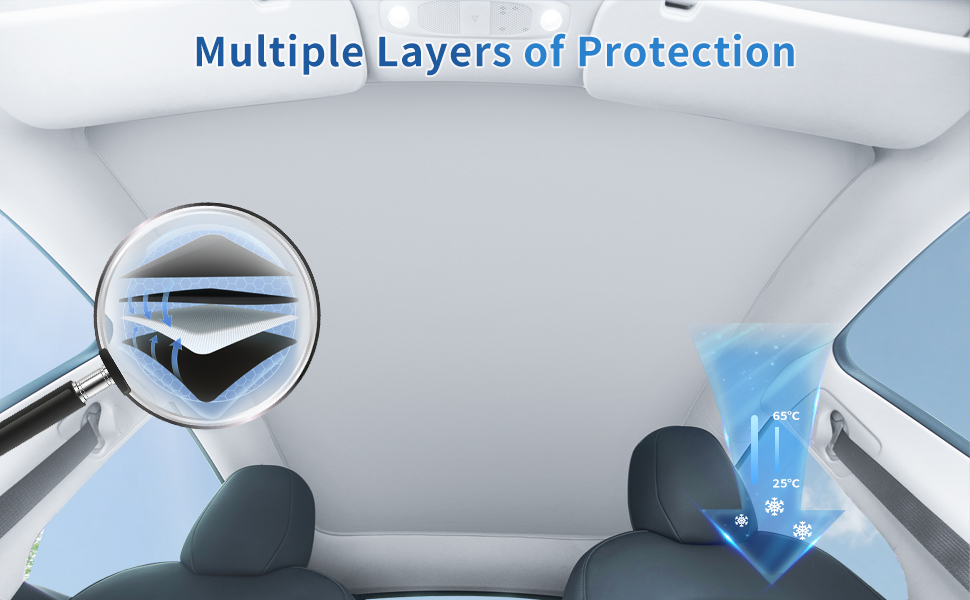
- Multiple Layers of Protection- Multi-layer composite structure, high-density thermal insulation cotton. Not only is it isolated from the sun, but it also has a thermal insulation effect in winter.
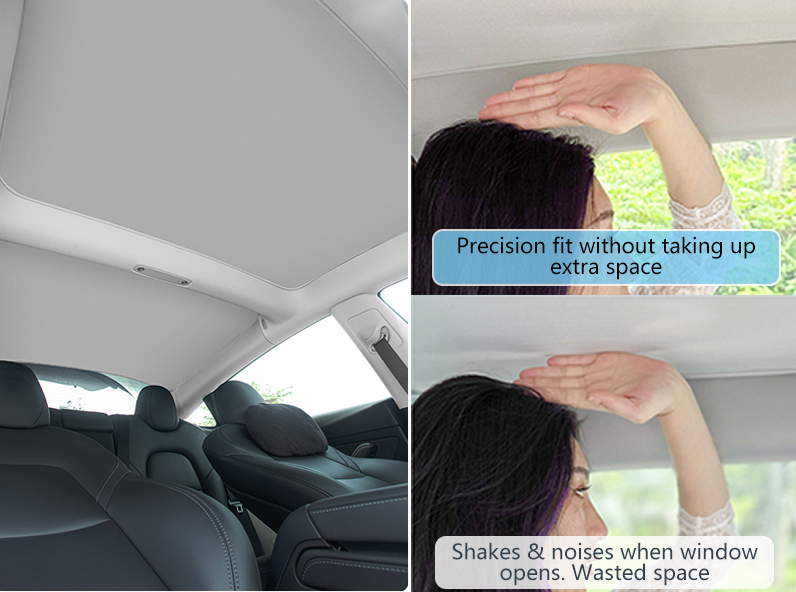
- Precise Fit- Elastic fabric for full coverage. This roof sun shade cover is perfect fit to the sunroof with its own curvature seamlessly. Leaving no gaps, and no collapse.
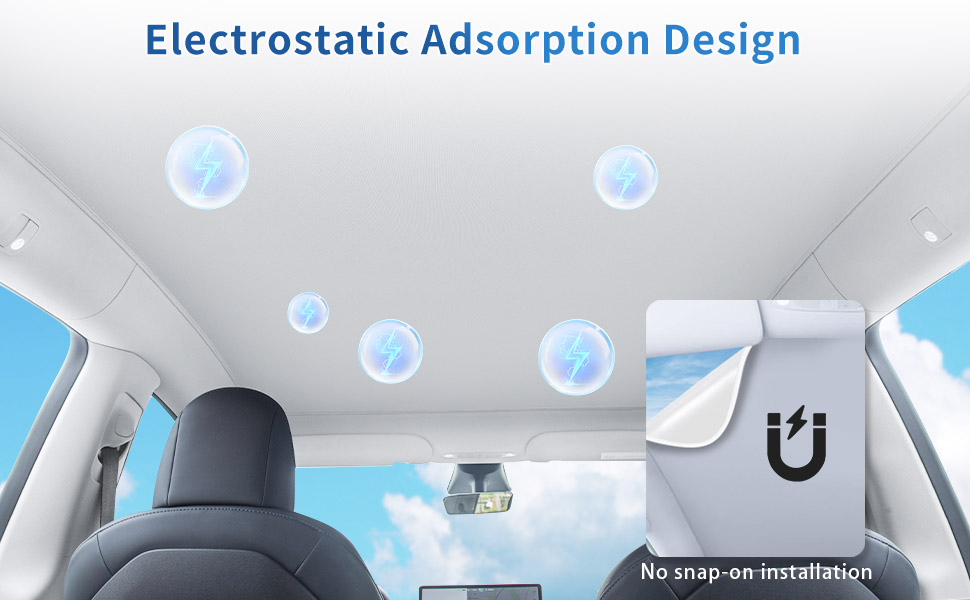
- Easy Installation- Installation without clips. Non-destructive installation, removal without leaving traces.
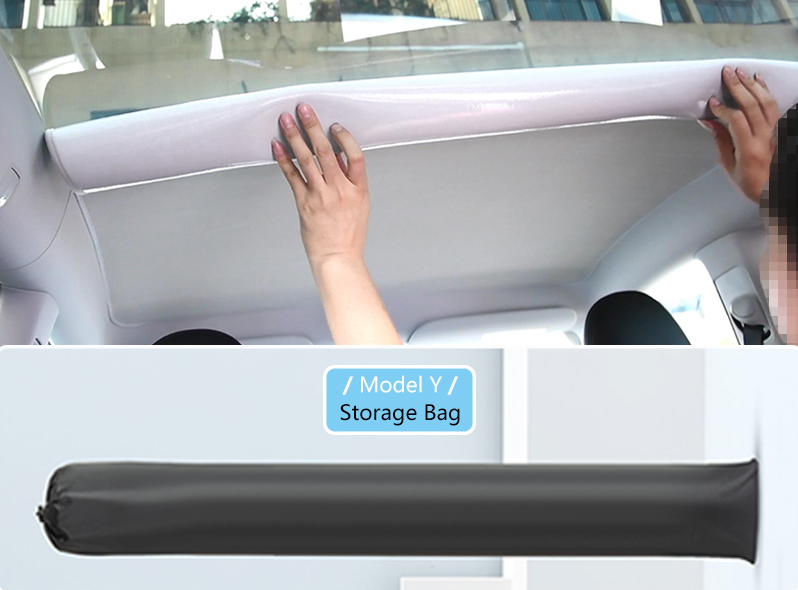
- Easy to Roll Up for Storage- Long-lasting for future use. Thanks to the soft material, it can be simply rolled up, put into a storage bag, and thrown into the trunk.
Installation Steps:
Step 1: Install the sunshade on a sunny day(under the sunlight). When installing it on Cloudy/Rainy days or indoor parking lots, open the heater-A/C to make the air dry for a better generation of electrostatic effect
Step 2: Use slightly wet towel or wet tissue to clean the sunroof and item's electrostatic adsorption film.
Step 3: Press the item with one hand, use the blue scrape-board to scrape it to be smooth from side to side with another hand transversely. And move towards the front sunroof gradually to make the item stick on the sunroof.
Step 4: Check if there is a bubble somewhere inside of the sunroof, if so you can use a scrape-board to scrape it to the nearest side to make it out.
Step 5: Check the four sides if there is a gap between the item and the car edge. If so you can open the edge of the item and stretch it to be longer to cover the gap, then use scrape-board to re-scrape it to be smooth.
(There is the elastic feature of this item, it can be stretched with gentle force.)
FAQ
Q1: What’s the first step of installation?
A1: First step is to set the highest temperature of the car (the heating mode), it is to rapidly lower down the humidity in the car. The dry air can make a better electrostatic adsorption effect and easy installation. / Then follow the instruction steps.
Q2: Bubbles between glass and cover, how to remove it?
A2: Two suggestions as below. 1. Use the scrape-board to scrape it to the near side of the cover. 2. Tear down the nearest side of the bubble, use the scrape board to re-scrape it to make it smooth.
Q3: Can it be removed when not use? How to storage?
A3: Yes, this item is reusable. You can take it down gently, then roll it up and tie up with included ribbon, Finally packs in storage bag and put it in the truck for next use.
We are committed to bring our products to everyone in the world. Our company delivers to most countries in the world and is dedicated to meeting a variety of shipping needs. Shipping is free for all orders over $79.
You can return your product up to 14 days after receiving your order. Learn more

